
I found a hat online that I wanted to try and come up with a pattern to make a hat similar to it. I had a friend who wanted a hat and I thought the style suited him, so I tried to come up with something. I think I succeeded! 🙂
NOTE: I have had several comments on ravelry and one here. When I made this hat, I did it more than once, it came out as an adult man’s sized hat. If yours is coming out smaller you may need to adjust your hook size.
http://www.bevscountrycottage.com/size-chart.html#hat
The link above is a sizing chart that works out pretty well.

Here is the original one that I found on google images.
And here is mine…


Here is the pattern I came up with, it is super easy!
Kayla’s Mohawk hat
Main Hat
Ch 4 join with a slip stitch
Row 1 – With color A, Ch 2 double crochet 11 times into the ring join with a slip stitch on top of ch2. Ch2 and turn.
Row 2 – Double crochet in same stitch as ch2, *1 double crochet in the next stitch, 2 double crochets in the next stitch. Repeat from * around. Join with a slip stitch on top of ch2. Ch2 and turn.
Row 3 – Double crochet in the same stitch as ch2, * 1 double crochet in the next 2 stitches, 2 double crochet in the next stitch, repeat from * around. Join with a slip stitch on top of ch2. Ch2 and turn.
Row 4 – Double crochet in the same stitch as ch2, * 1 double crochet in the next 3 stitches, 2 double crochet in the next stitch, repeat from * around. Join with a slip stitch on top of ch2. Ch2 and turn.
Row 5 – Double crochet in the same stitch as ch2, * 1 double crochet in the next 4 stitches, 2 double crochet in the next stitch, repeat from * around. Join with a slip stitch on top of ch2. Ch2 and turn.
Row 6-13 Double crochet in each stitch around. Join with a slip stitch on top of ch2. Ch2 and turn.
**Row 14 is optional, you can just continue Row 6 until the hat it long enough. **
Row 14 – With color B Ch2 skip first stitch and crochet in the next stitch, double crochet in the skipped stitch, this creates an . Ccontinue the cross stitch around to the ch2, join with a slip stitch.
Row 15 – With color A, Double crochet in each stitch around. Join with a slip stitch on top of ch2. Ch2 and turn.
Row 16 & 17 – Repeat row 15 fasten off.
Ear Flaps
Count over 9 stitches from the middle of the hat and put a stitch marker in the 9th stitch. Count over 14 stitches and add another stitch marker. Do this on both sides.
Row 1 – With Color A, join where your first stitch marker is, ch1 and double crochet in the same stitch. Double crochet to the next stitch marker, ch2 and turn.
Row 2 – Double crochet decrease over the first two stitches. Double crochet in each stitch to the last two stitches and decrease again.
Row 3-7 – Repeat row 2 decreasing each row as you go. Fasten off
Repeat on the other side.
Join with Color B anywhere on the hat (I prefer the back), ch1 and *single crochet in each stitch to the ear flap, single crochet evenly around the flap repeat from* around join with a slip stitch and fasten off.
Ties
I used 3 strands of yarn to make the strings. 2 of color B and on of Color A. Join in the middle of the bottom of the ear flap ch35 fasten off. I added a few extra strands of yarn at the end to make the end seem fuller, but I didn’t want pom poms.
Mohawk
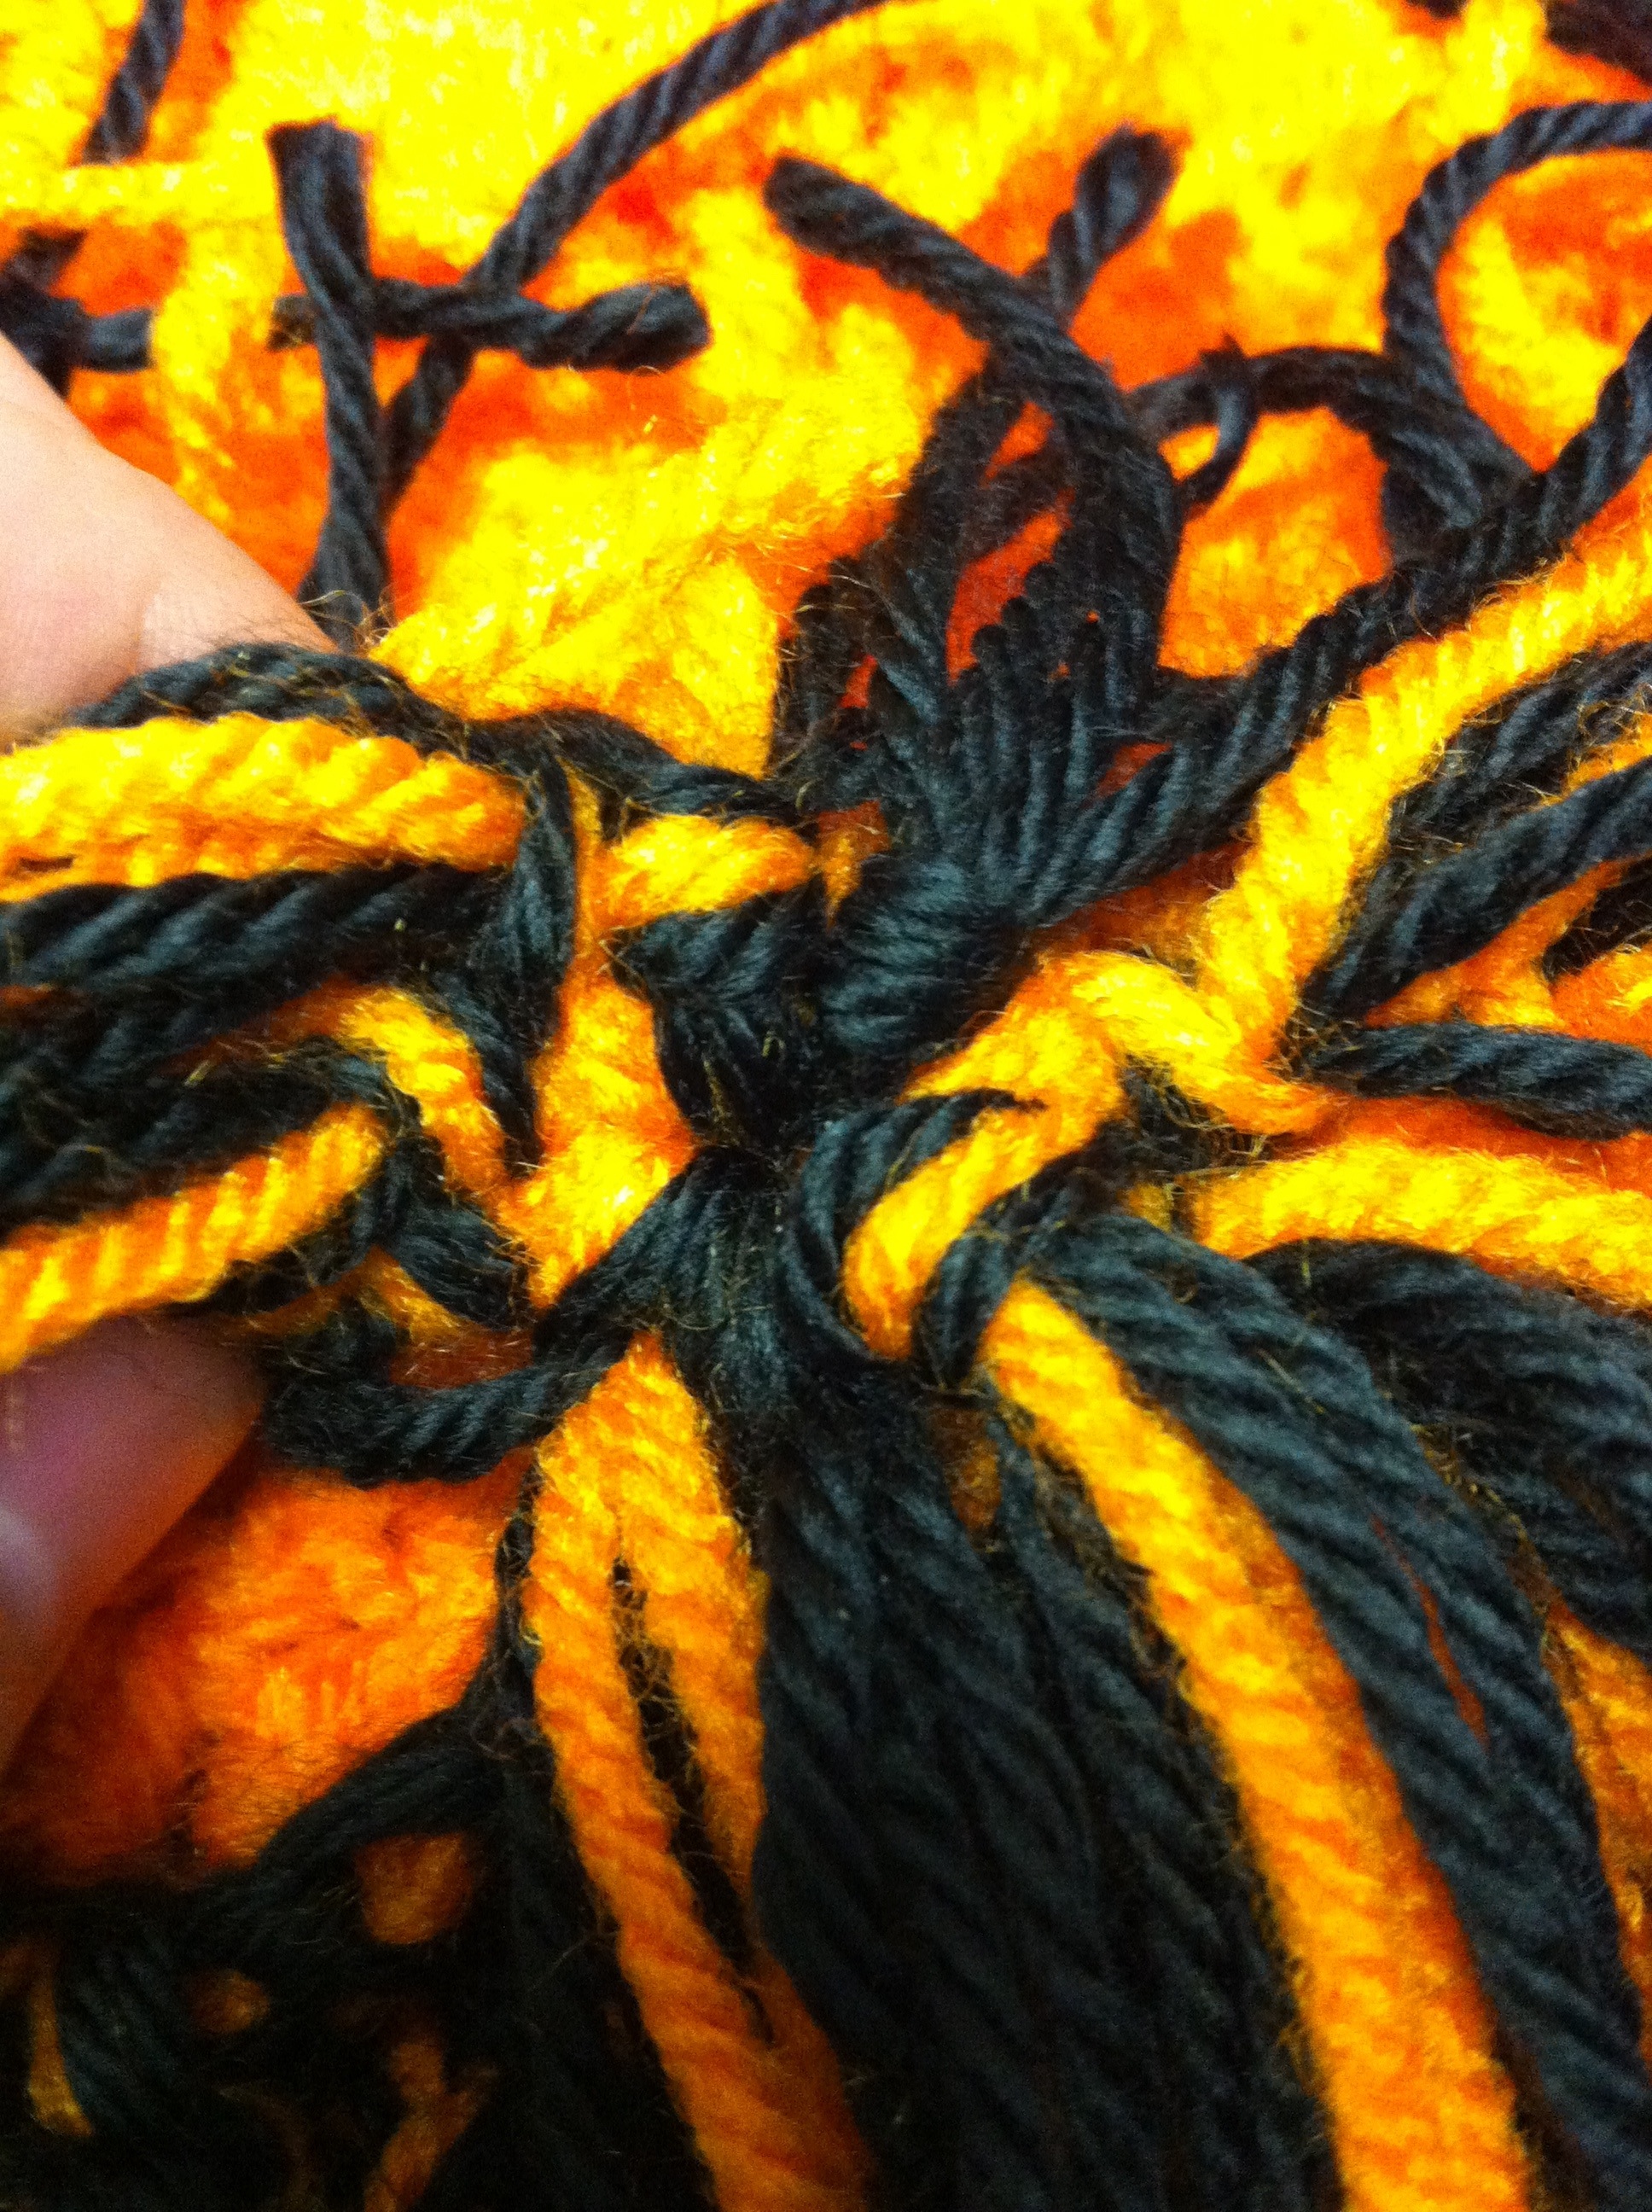
Start at the back find the middle (the middle of my hat was where I fastened off with Color B). You will be adding the mohawk to the middle 3 stitches. Cut 3 strands of yarn, 2 of one color and 1 of the other (I did 2 of Color B and 1 Color A) cut approx. 6 in and add it to the hat just like you would fringe on a blanket. to the hat just like you would fringe on a blanket.

This is what it will look like at the base of the Mohawk.
Repeat in each row until you reach the top of the hat. I added a little extra yarn all the way around the top so it was fuller and there isn’t a part right in the middle of the Mohawk.
This is what mine looked like at the top.
Continue adding the fringe all the way to the front. You should end up with a Mohawk that ends up right in the middle if the hat. Put the hat on and trim the Mohawk in the front so it isn’t in your eyes, and then you are finished!
If anyone would like a picture tutorial of the mohawk, let me know and I will post one.
